Monday, November 29, 2010

Lighting up

These streetlights are very cheap ones from Hong Kong (eBay, 10 for under € 10,-, and free shipping as well!) but I think they look quite okay on the little layout.
The wiring is nothing fancy, I just connected them to two AA batteries, which are hidden inside the module. A little switch turns them on. I chose to go for battery power because the tiny LED's will probably last almost forever on a battery charge and it keeps connecting modules in the future very simple.

I'm really enjoying this stage of construction in which the city gets more and more alive with every detail added.

And my T7B5 should be arriving shortly! Looking forward to running it. Hope to get some more track in soon as well, so I can start on the turning loops. Then the enjoyment of watching the trams go by can really begin :)

Tuesday, November 23, 2010

How 'bout a little triangular layout?

Just an idea. I think it'll look quite good with a couple of these in the middle :)

Design made with Tomix 103R and 140R curves/turnouts. Size 50 x 50 cm.

Saturday, November 20, 2010

Tram stop construction

Got these really nice street fences from Sankei today. Sankei (from Japan) makes high quality laser cut paper models and various interesting details like these fences. The figures are from Preiser.

Monday, November 15, 2010

Auhagen 14464

Got this kit at the local hobby shop today. It contains two 4 storey 50's/60's German apartment buildings. The design is generic enough to make them useable almost anywhere in the world.
The kit comes with a white/greyish and a light yellow building, but the rather shiny plastic definately needs a coat of paint.
German manufacturers have a good habit of casting the window frames seperately, which always makes the painting process a lot easier. Also nice: all side walls in the kits are moulded together.

It's not the most detailed kit but it's cheap (€ 16,-) and has a big plus: it's completely modular, you can build the buildings any way you want really. The builings can get a tiled roof or a flat roof, fitted with balconies or without, the ground floor layout can be changed, and the best of all: buildings can stacked on top of eachother and multiple kits can be combined.

I really like this modular approach. This is my first Auhagen kit and I must say I'm pleasantly surprised, looking forward to building it!


A couple examples:


Ah, and the alcoholics were on sale :)

Friday, November 12, 2010

A small turning loop

Figured out what I believe is about the smallest possible turning loop based on 140 R Tomix Finetrack. I avoided an S-curve in this design, which could mean trouble for several coupled trams. The tram stop can be situated either along the diagonal S99 or along the S280 at the bottom.The baseboard for this loop should be about 50x35 cm.

My plan is to make two modules based on this design to get a basic layout, which can be extended with new in-between modules in the future. Decided to go for these instead of the Y-turns because of the ease of operation.

Thursday, November 11, 2010

Croncrete slabs and rusty masts (2)


As promised in my last post, some more pictures. I have been unable to use any pictures made with my mobile phone, so I took some afterwards. These don't show all stages of building, sorry about that.

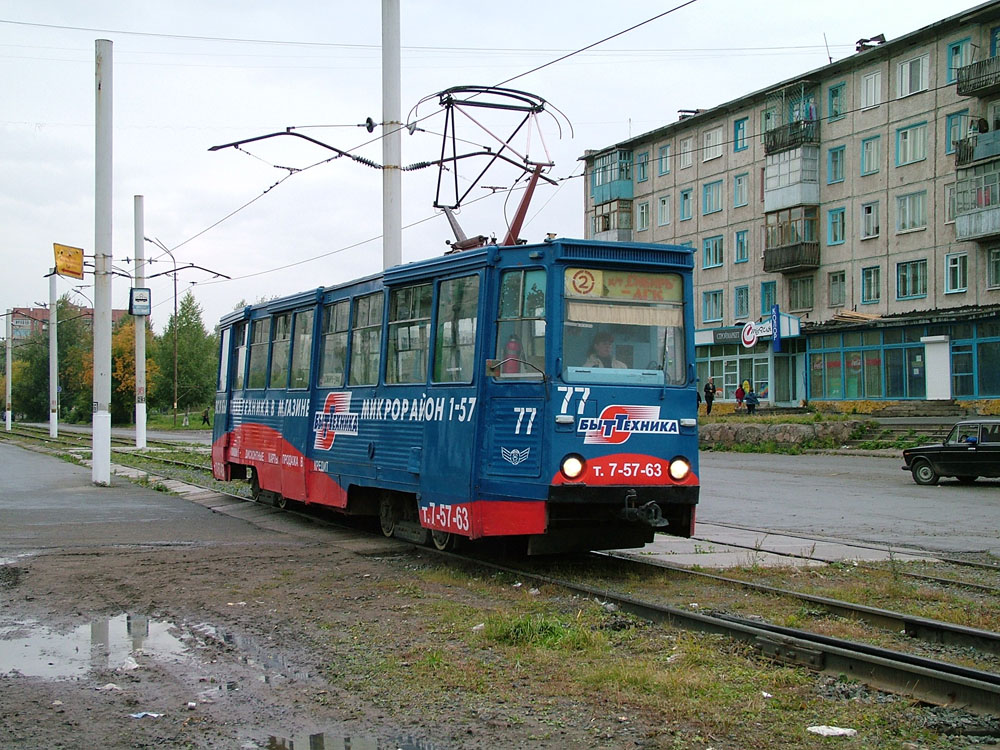
The catenary masts. I decided to go for non-functioning overhead for now. In the future these masts can be easily replaced with live wire ones, as the masts are attached to bolts wich slot in holes in the track plates. This also makes replacing a damaged mast very easy.
The base was made from 2mm dia styrene tube, with a drilled hole in which the 1.2mm dia brass tube fits. The 0.5mm brass wire was soldered to the tube. Some insulation from electric wire finishes the mast. I sprayed the whole mast a light grey colour, and then painted the wire-hanging parts black with a little drybrushed rusty colour. After all, Lileau community isn't spending much on maintenance ;)

The track, before and after. Tomix Wide Tram Track is really easy to use but I don't like the shiny rails and plastic. These had to be re-painted. The inside of the flangeways were brushed dark brown (be careful to whipe excess paint off the rails afterwards). I didn't paint the rail joiners and last centimeter of the pieces before joining them together to ensure electric conductivity. When dry, the rails and flangeways were masked and the plates sprayed concrete colour. A light wash of black ink and voilĂ ! Washing all pieces seperately makes the tramway look very lively.

The zebra crossing is a rub-on decal from (I believe) a Busch set. To get some of the whiteness and shine away, I gave the crossing some local weathering after applying.

This picture also shows the top of the M4 bolts the masts have been attached to. They look a little big, but I've seen examples of these in real life so I'm not that bothered about them.

By the way, the platforms aren't glued down yet, this will be fixed soon.

Sunday, November 7, 2010

Concrete slabs, rusty masts and brand new Combino's

I've tackled two jobs this weekend: making overhead masts (design based more or less on these) and painting the tram track.
I would like to show some of the process, but I'm having trouble uploading pictures from my mobile phone to blogger, so you'll have to do with this picture of the results for now.
Will upload some pictures of the work in progress when I have figured out the problem.

By the way, really looking forward to the release of Modemo's Combino. Some mouthwatering pictures of the prototype can be found here.

Monday, November 1, 2010